


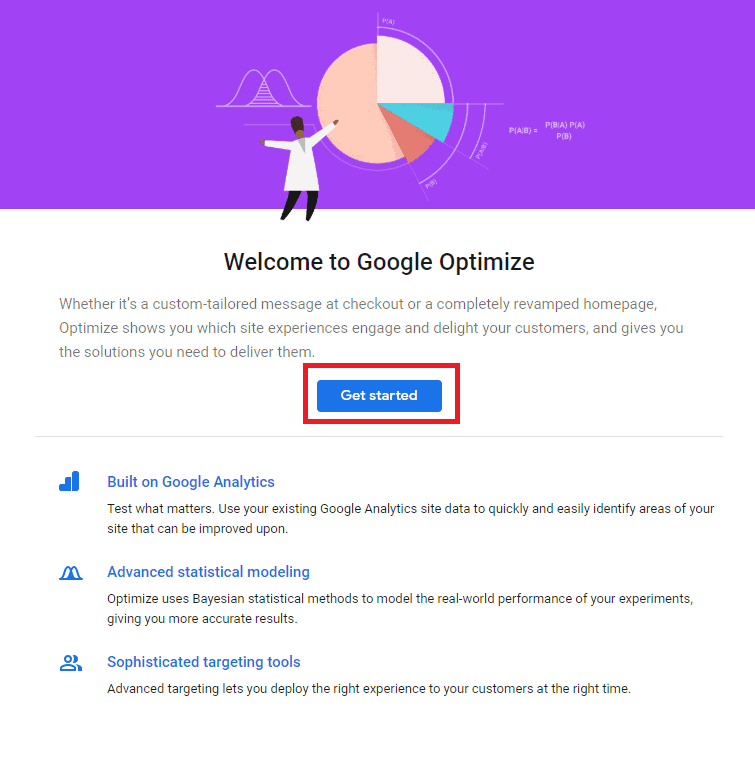
Looking for a Google Optimize tutorial to help you get started with the most powerful free conversion rate optimization (CRO) platform online?
Look no further – we’ve put together this quick Google Optimize tutorial that shows you step-by-step how to configure your first Google Optimize test.
Let’s dive right in and go through exactly how you can set up your first experiment using Google Optimize.
Google Optimize Tutorial: Setting Up Your First Experiment
Before You Start
This tutorial will walk you through the basic process of setting up your first content experiment with Google Optimize.
Google Optimize is the free version of Google’s CRO tool, but marketers should also be aware of the paid version – known as Google Optimize 360. This tutorial focuses exclusively on the free version.
Here’s what you’ll need to get started:
- You’ll need a website to run content experiments on.
- You’ll need to have Google Analytics installed on that website, so you’ll also need a Google account.
- You’ll need to have the Google Optimize Chrome Extension installed in your browser, otherwise, the Optimize visual editor may not work properly.
- You’ll need to visit the Google Optimize Home Page, click on “Start for free“, and sign in to Google Optimize using the same Google account that is associated with your website’s Google Analytics. You’ll need to choose some basic options, like which emails you want to receive and whether you’d like to share data.
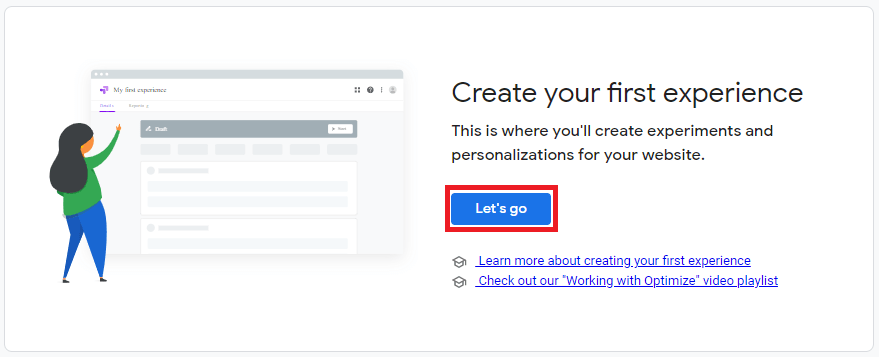
Building Your First Content Experience
Google Optimize allows digital marketers to optimize user experience and conversions on their websites and landing pages using content experiments. A content experiment is a common CRO tactic where marketers create two or more different experiences, show them to different user groups, and measure the differences in performance.
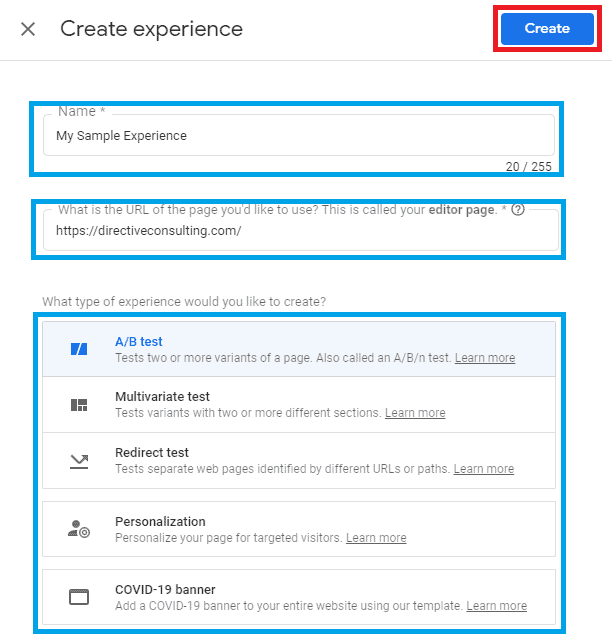
There are four main types of content experiments: A/B testing, multivariate testing, redirect testing, and personalization. You can learn more about each type, but for this example, we’re going to set up an A/B test.
In an A/B test, digital marketers compare several variants of the same web page to see which one performs the best. This allows for precise testing of subtle changes, such as a headline, the color or text of a CTA button, or an image. Marketers can experiment with different headlines, color contrast, CTA text and positioning, and numerous other factors – all in an effort to maximize conversions on the page.
To get to the next step, choose to create an A/B test. You’ll also need to provide a name for your experiment and enter the URL of the page where you wish to run the experiment – this will be your editor page. Click “Create“.
Creating & Editing Variants
Now you’ll need to add some page variants for the A/B test experiment.
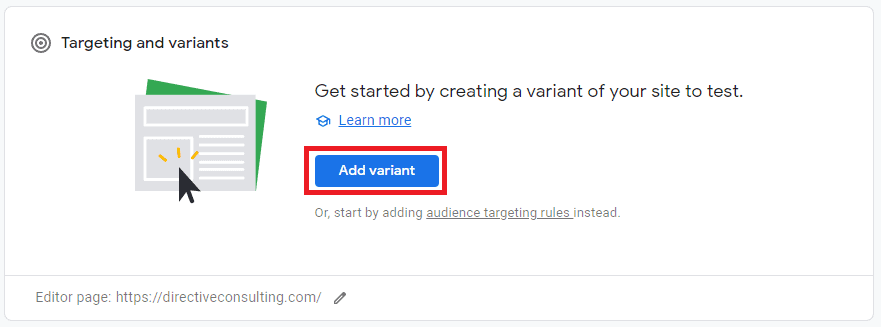
When you click on “Add variant”, you’ll be asked to name each one that you create. During experiments, we’d recommend choosing a descriptive name that alludes to the structure of the experiment, but for now, you can stick with the default.
Now you’ll be able to edit the variant weight for each of your target variants. Variant weight is a setting that determines how frequently each variation will be shown to users as part of the content experiment. If all variants have equal weight, they’ll be shown equally often during the experiment.
For this example, we’ll just add a single variant to keep things simple. You’ll notice that both variants are automatically given 50% weight.
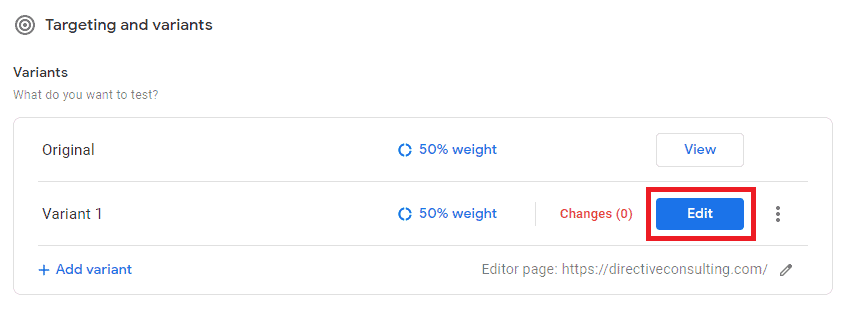
Clicking on edit will open up the visual editor and you’ll see a presentation of the editor page URL you chose in the previous step.
The Google Optimize visual editor provides some powerful capabilities for creating page variations. We can change the size or position of on-page elements, directly edit or replace HTML, change any text or images, modify object attributes, or run JavaScript.
For now though, we’re going to make a simple change to the CTA on this page.
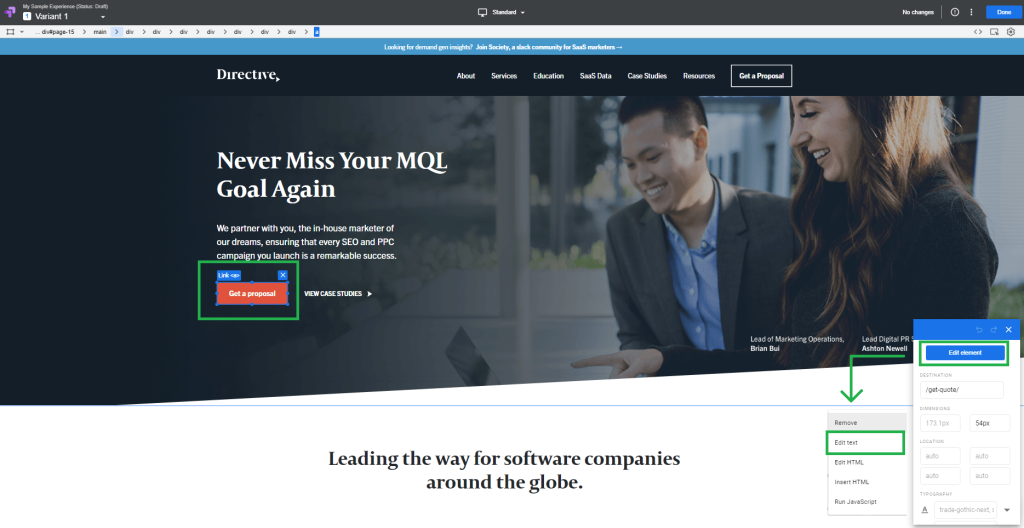
Here’s our home page shown in the Google Optimize visual editor. We want to edit the main CTA button highlighted in green. To do so, we simply clicked on the element we want to edit, then clicked the blue “Edit element” button in the menu, then selected “Edit text“.

Now we can replace the CTA text. For our test variant, we changed it to say “Get a Free Proposal Now”. We can click Done in the bottom right to get back to the visual editor’s main interface.
We can also pretty easily change the color of the CTA button. We just need to keep the right element selected and use the editor menu in the bottom left. Scroll down to the “background-color” attribute and click on the ellipsis to make the change. You can adjust the color manually until you’re happy with the results.
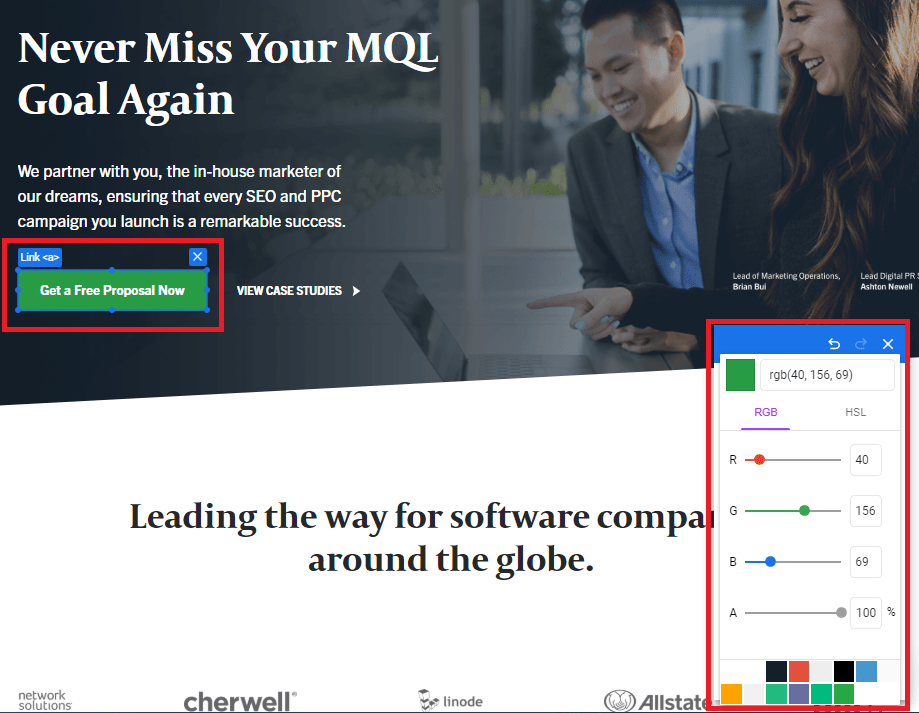
Click “Save” in the top right to save the variant you’ve created, then click “Done” to return to the main page.
Configuring Page & Audience Targeting
Page and audience targeting determine where on your website the content experiment will run and which visitors should be included in the experiment.
By default, Google Optimize will set up to run on the same URL as your editor page URL – this is most likely the option you’re looking for, but you can add more URL rules to make sure your experiment is running everywhere that you want it to.
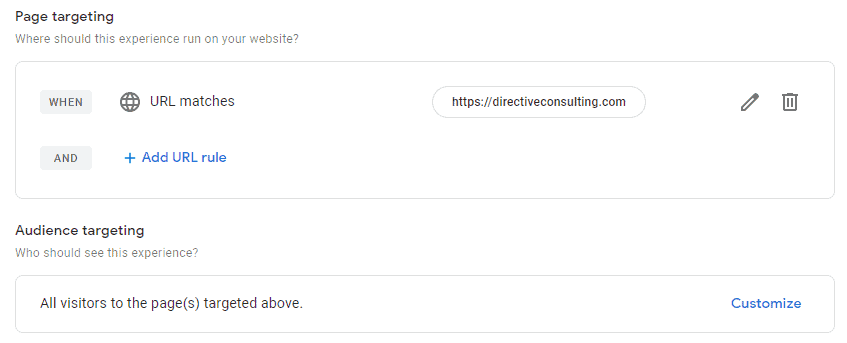
There are many different ways to customize audience targeting for content experiments, including with Google Analytics data or using your ad groups from Google Ads. By default, your experiment will simply be shown to anyone who lands on the target page.
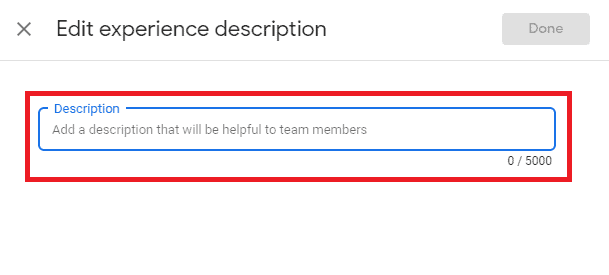
Write a Test Description
Each time you do a conversion rate optimization test, you should begin with an analysis of the performance of the target page and a hypothesis for how you might increase that performance. Your test description should give a basic overview of why you are performing this experiment, why and how you have configured page variants and your predictions about the outcome of the experiment.
Linking Your Google Optimize Account to Google Analytics
Next, you’ll be asked to link your Google Optimize account to the Google Analytics property where you are running the content experiment.
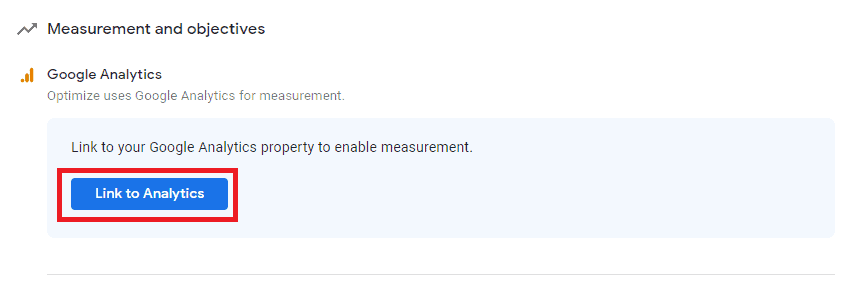
Integration with Google Analytics is required for using Google Optimize – without it, you won’t be able to gather data from your experiments or measure any of your results. Thankfully, it takes just a few clicks if you’ve already got Analytics installed on your web property.
If you’re having trouble, check out Google’s support article on linking your Google Optimize to Google Analytics.
Set a Test Objective
Before you can set up a test objective, you will need to install a Google Optimize Tag on your website.
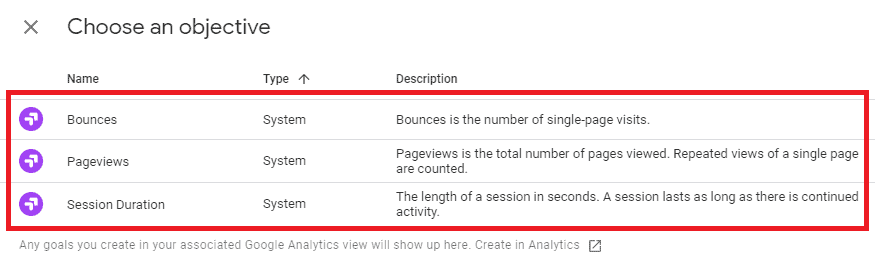
Once you’ve set up your Optimize tag, you will be able to choose objectives for your content experiment. You can either choose from a list (which includes the three options pictured) or create a custom goal using event tracking.
Start Your Experiment
Once you’ve set up your objectives, you’ll notice five green checkmarks across the top of the page – that’s the signal that you’re ready to launch your first content experience. Congratulations!

You can click the “Start” button in the top right corner to launch your first content experiment. Google recommends that you wait up to two weeks before checking on your results. This allows more time for users to visit both variations of your page and leads to a greater sample size and more accurate results.
Summary
Thanks for checking out our Google Optimize Tutorial for 2020! We hope this tutorial gets you excited about the many possibilities of CRO and inspires you to start improving your landing pages with Google Optimize.


